Vendors Setup
OVERVIEW
The vendor setup screen allows you to add, edit, delete, or print your vendors. Vendors relate to the Expense Register where you can enter checks and keep track of your expenses.
This section allows you to define your default list of vendors.
HOW TO GET THERE
1) At the Main screen.
2) Select the Setup menu.
3) Scroll down to 'Vendors.'
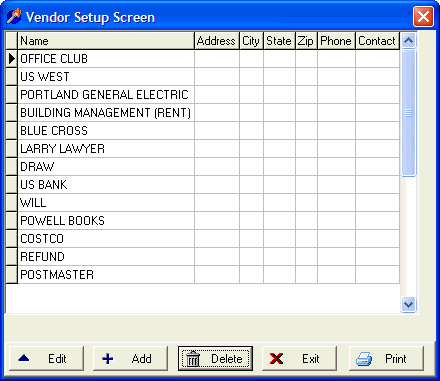
4) The Vendors Setup Screen', similar to the one shown below, will be displayed.
INSTRUCTIONS
After selecting the Vendors option under the Setup menu you can add a new Vendor by selecting the ADD button at the bottom of the screen, edit an existing Vendor by selecting the EDIT button or delete an existing Vendor by selecting the DELETE button.
If you choose to add or edit, a screen similar to the one shown below will be displayed.

* Don't forget to click Save if you modify any existing vendors.
Vendor Name - This is the name of the vendor.
*Note: The information below is optional.
Address Line 1 - Enter the Address Line 1 of the vendor.
Address Line 2 (if needed) - If an additional address line is needed, enter it here.
City - Enter the city of this vendor.
State - Enter the state of this vendor.
Zip Code - Enter the zip code of this vendor.
Phone - If available, enter the phone number of this vendor.